

Step 1
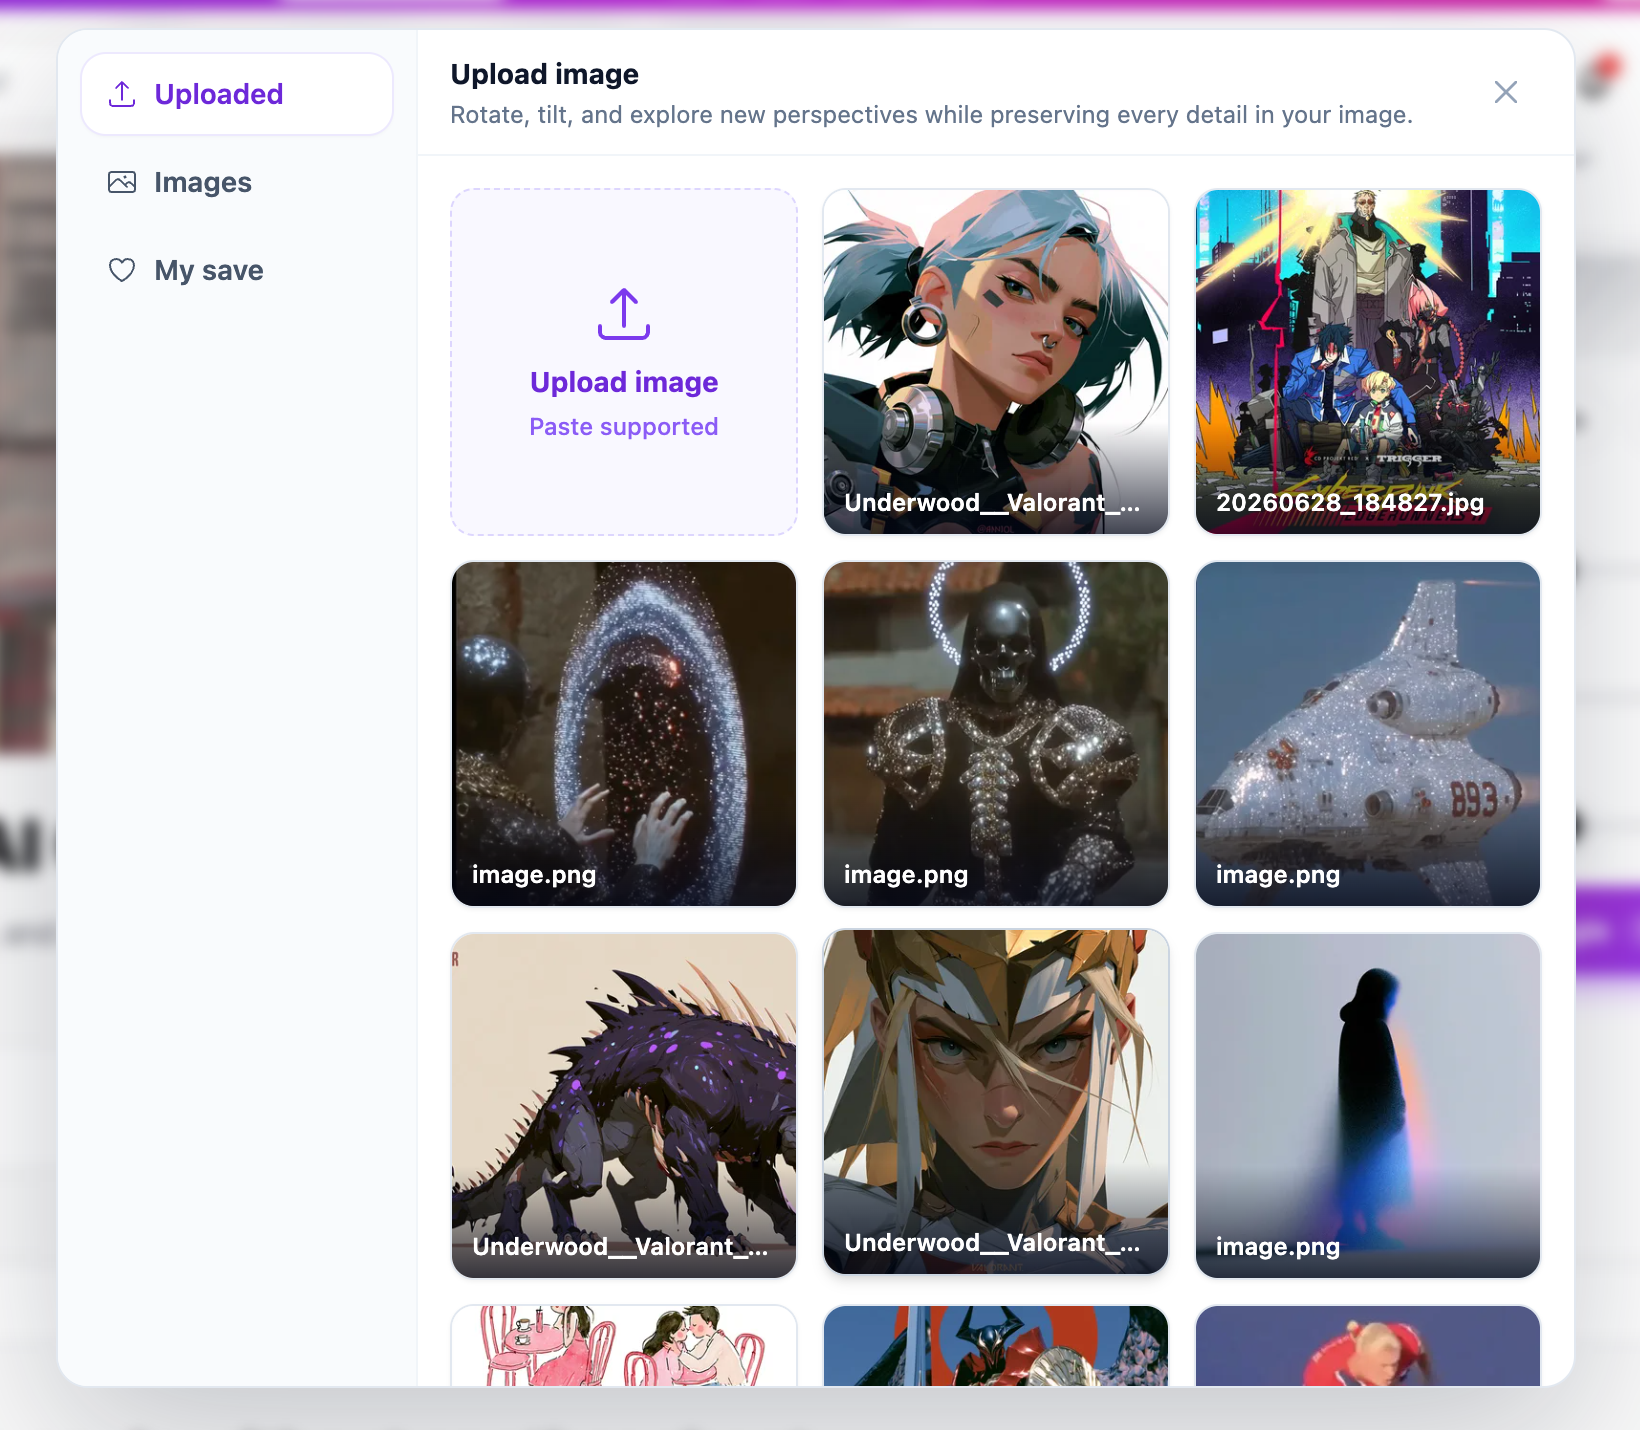
Upload your image
Start with a clear photo, product shot, character render, or concept image.
Upload the image you want to adjust, then change only the camera angle.
Turn one image into side, top-down, low-angle, or three-quarter views while keeping the same person, product, or character.
Hold on to the same person, product, outfit, materials, and overall look while you test a new view.
Turn left or right, tilt up or down, and pull the camera closer or wider until the angle feels right.
Use simple camera controls instead of rewriting the same prompt over and over.
Check alternate angles before you book a photographer, rebuild a scene, or ask the team for more source images.


Use it when a product shot, character render, or video reference is worth keeping, but the camera view still needs work.
Turn one character image into extra views for concept sheets, storyboards, and production references.
Explore front, side, low, or top angles without losing the outfit, silhouette, or character identity.
Share angles that are easier for illustrators, game artists, and video creators to follow.


Create extra product views before spending money on another shoot.
Make side, three-quarter, top-down, or closer views from one usable product photo.
Preview the angle that works best for ads, product pages, and marketplace images.


Set the camera view before you turn an image into video.
Try low angle, top-down, side view, or a wider frame before sending the image to a video model.
A better source angle often beats a longer prompt.
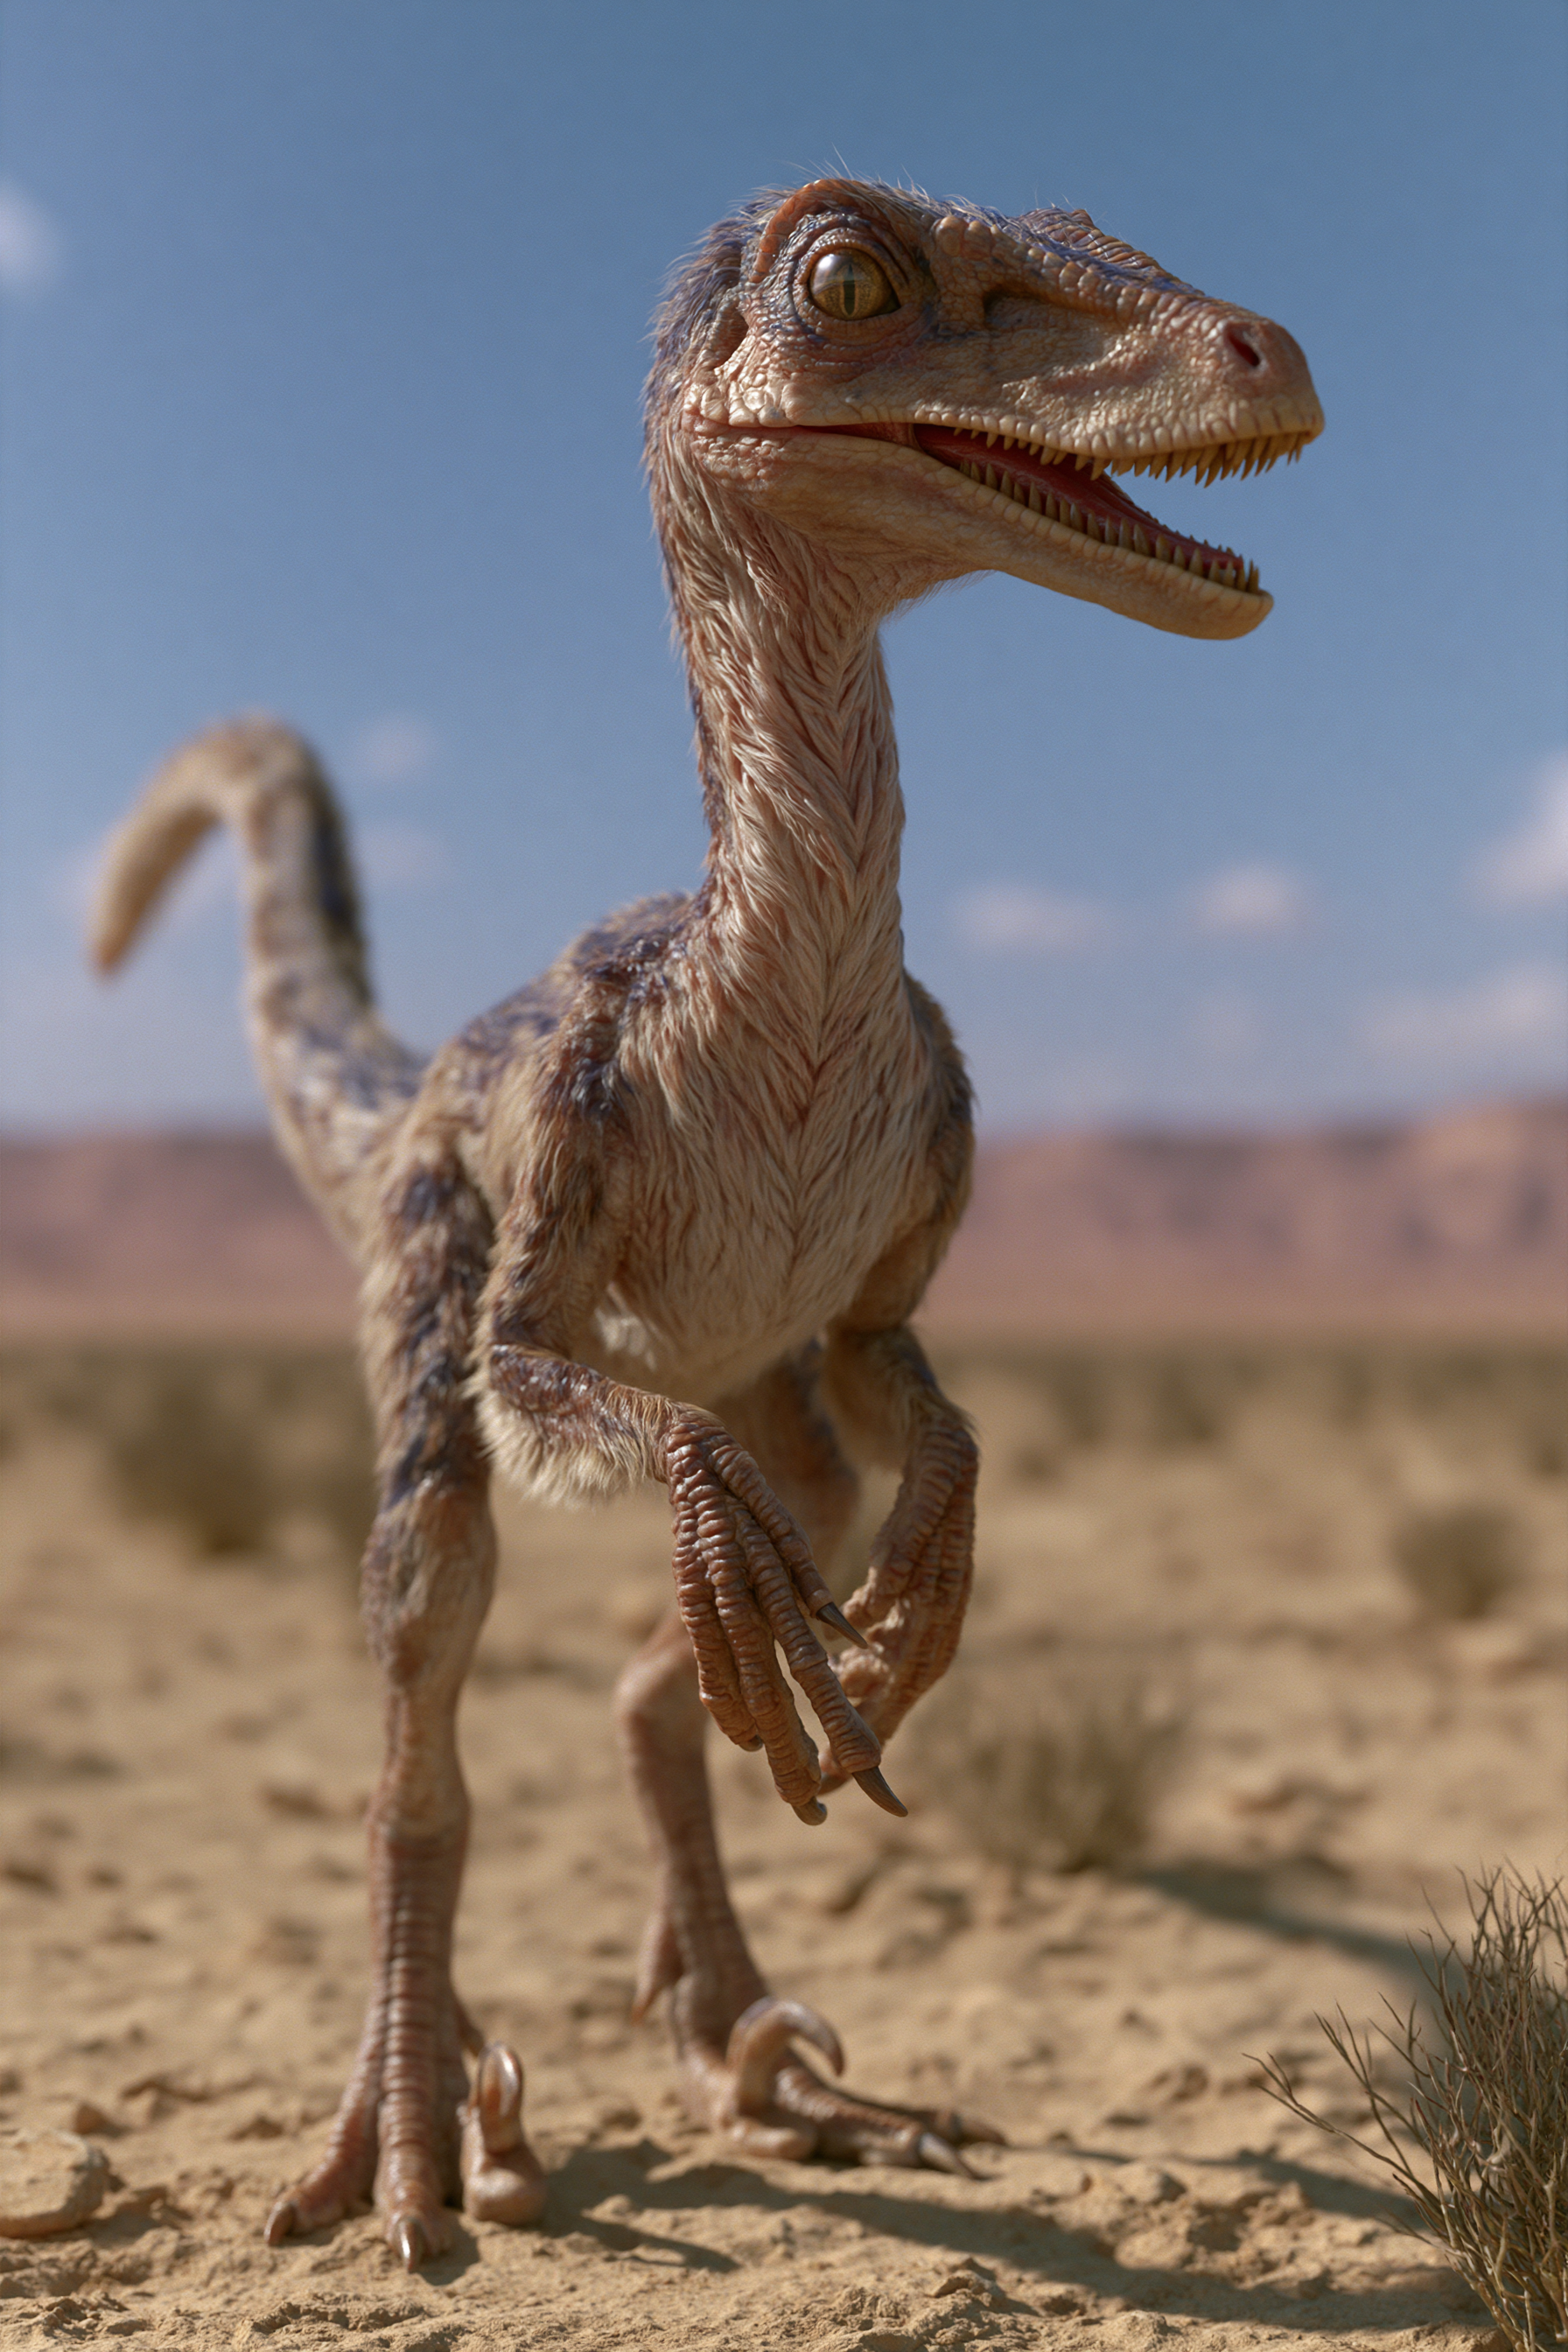
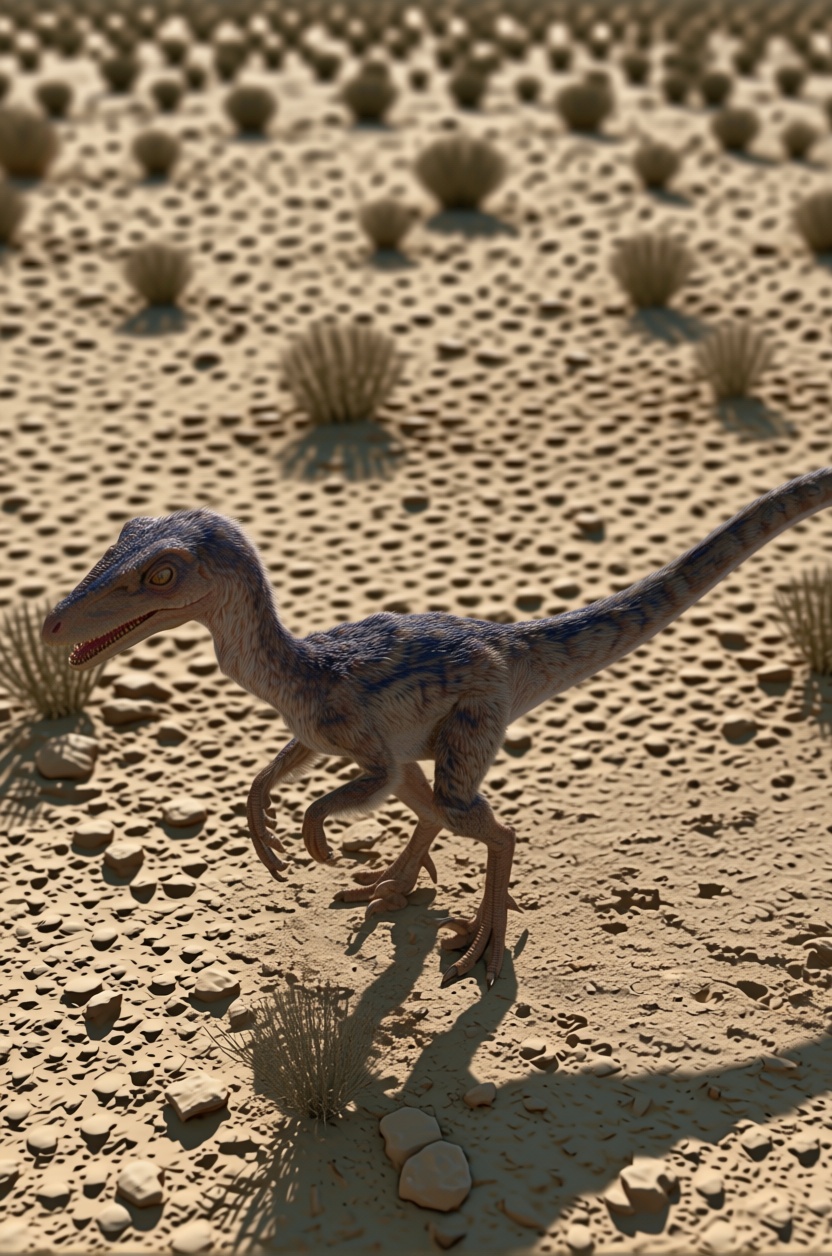
Go from one source image to a usable new camera view in three quick steps.
Start with a clear photo, product shot, character render, or concept image.
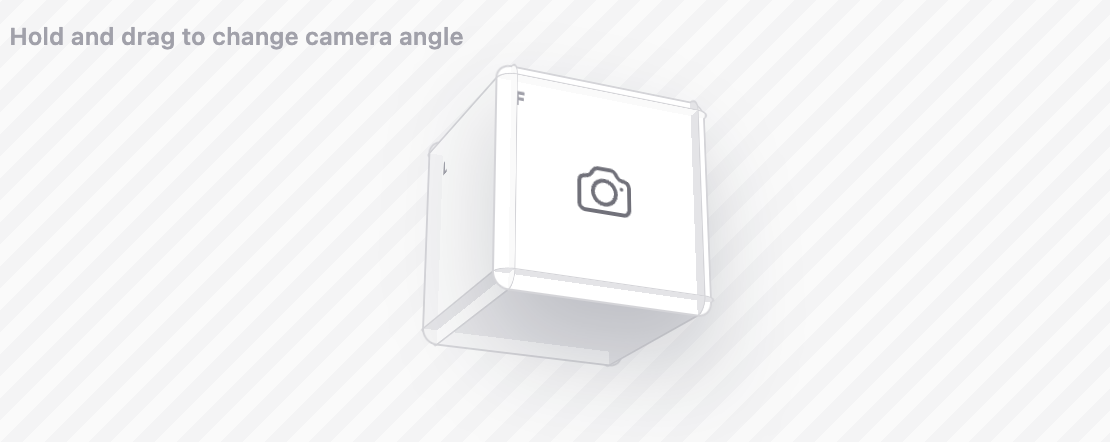
Use presets or adjust rotation, tilt, and distance until the camera view matches your idea.
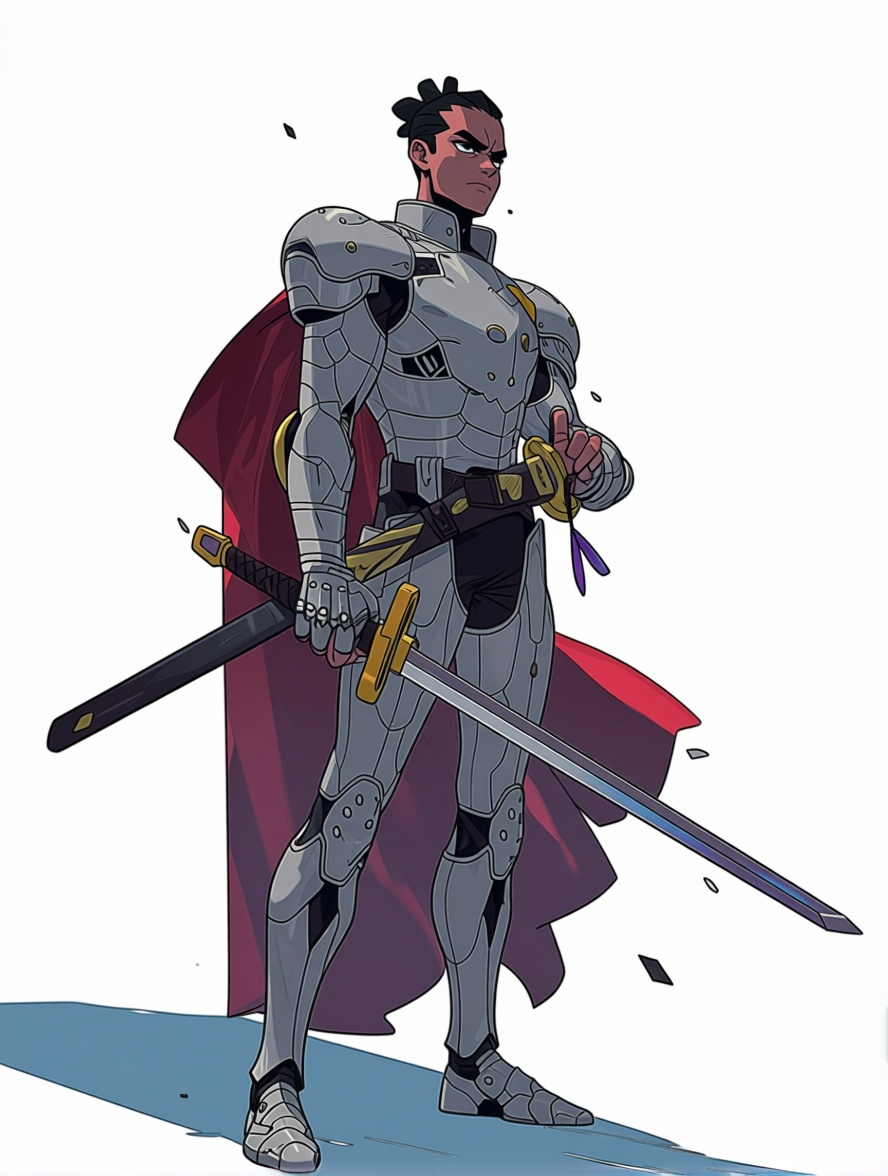
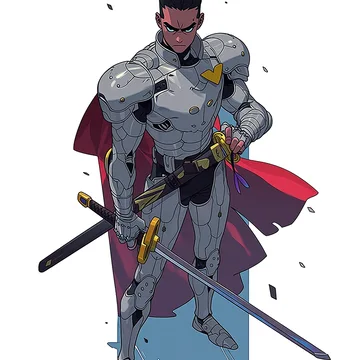
Create a usable angle while keeping the original subject direction intact.
Creators use AI Change Angle to test views, fill missing angles, and plan shots before they redraw, reshoot, or generate video.
I usually get one approved character render and then need a few extra angles for the deck. This helps me make those references without redrawing the whole design.
I use it when the visual is good but the perspective feels flat. A slightly lower or three-quarter angle often makes the same subject feel more intentional.
I usually get one approved character render and then need a few extra angles for the deck. This helps me make those references without redrawing the whole design.
I use it when the visual is good but the perspective feels flat. A slightly lower or three-quarter angle often makes the same subject feel more intentional.
Explore more AI tools to enhance your creative workflow
Woke up unsettled, or keep thinking about a scene from your dream? Share what you remember and how you felt. Talk with AI to sort through those emotions and explore possible connections to recent experiences.

Develop image and video prompts through conversation with selectable specialist Skills.
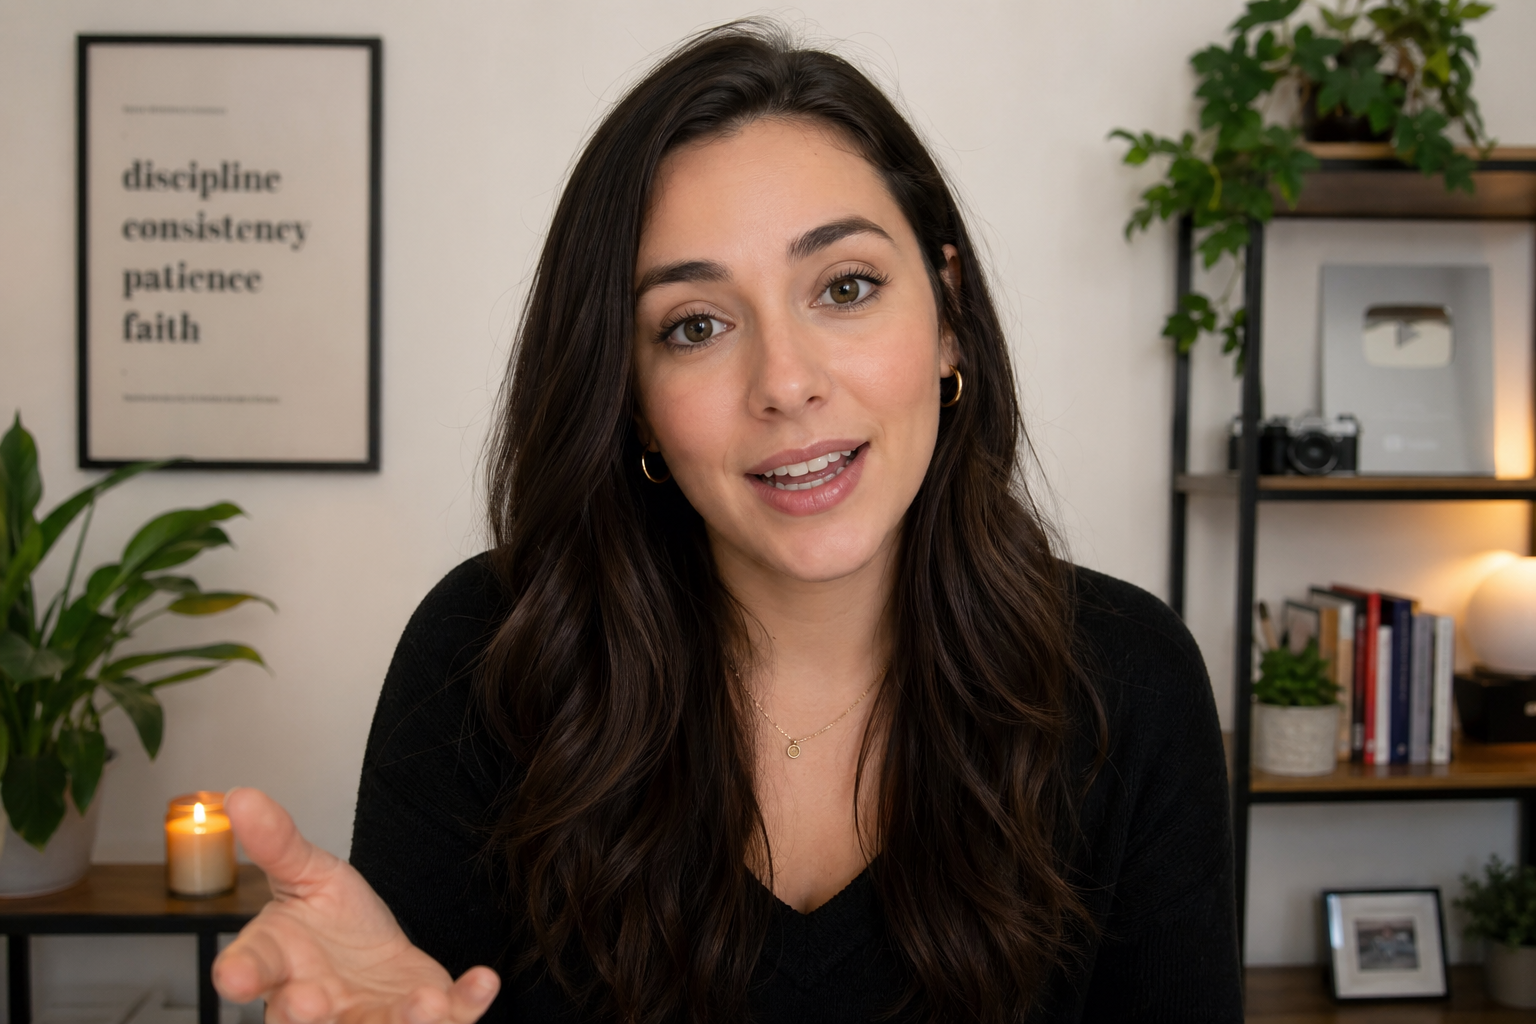
Turn a portrait and a script or audio file into a realistic talking video.
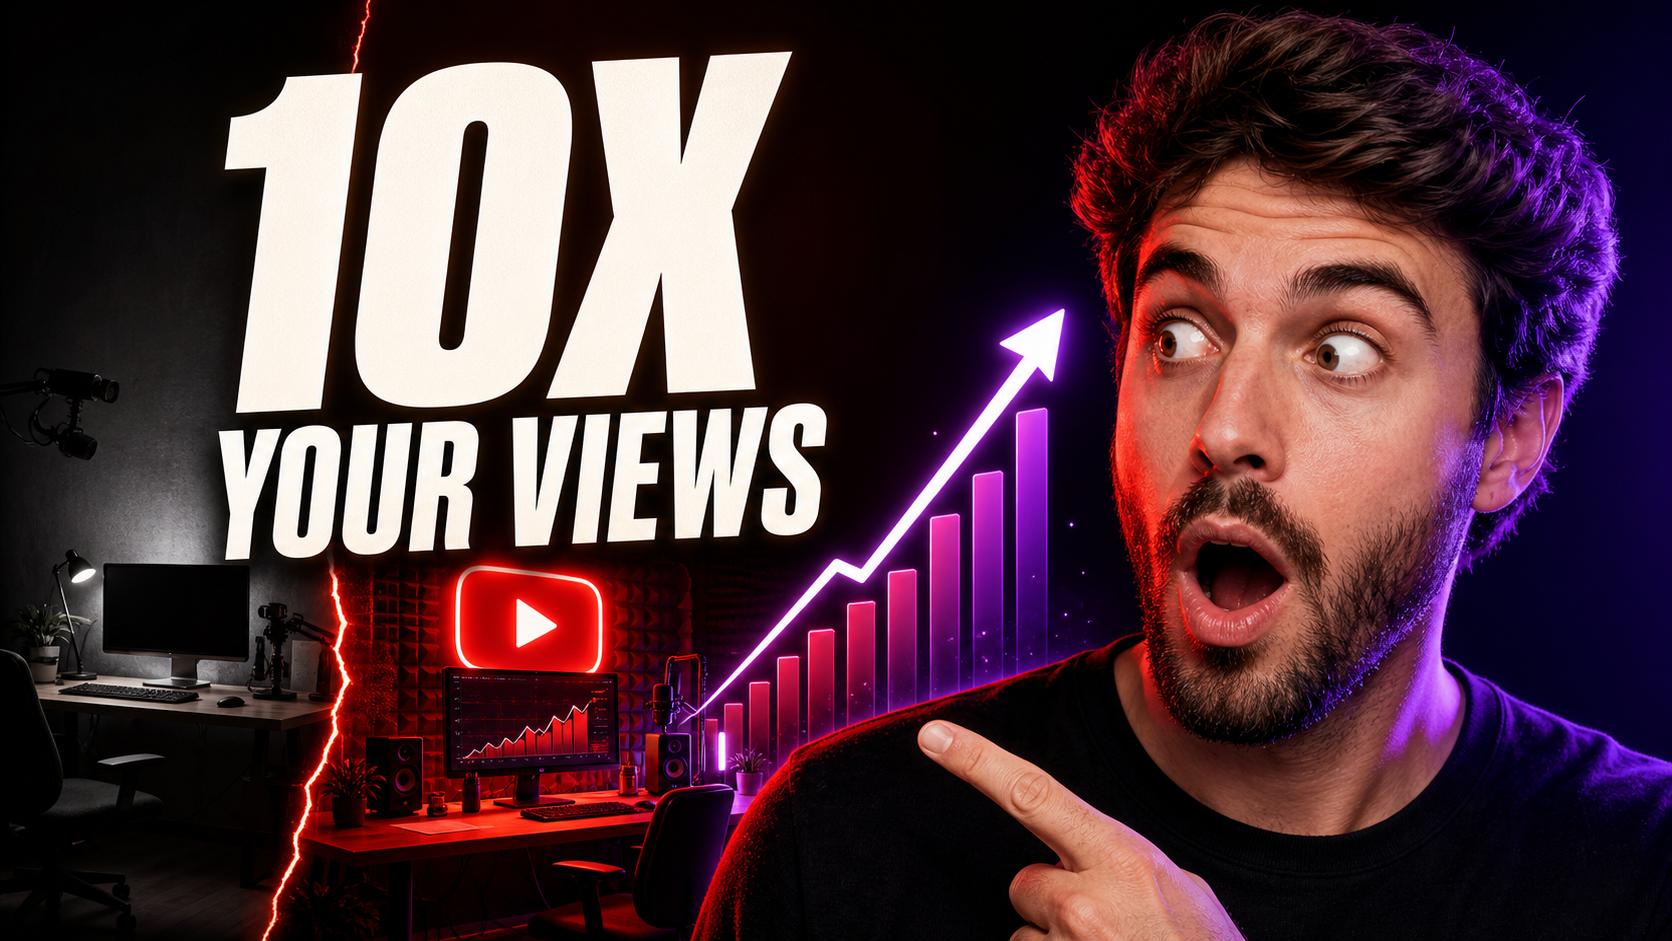
Create 16:9 YouTube thumbnail concepts from a prompt or reference image.
Generate videos with motion control using AI. Upload an image and a reference video to create dynamic video content.

Generate images from text prompts using multiple AI models simultaneously
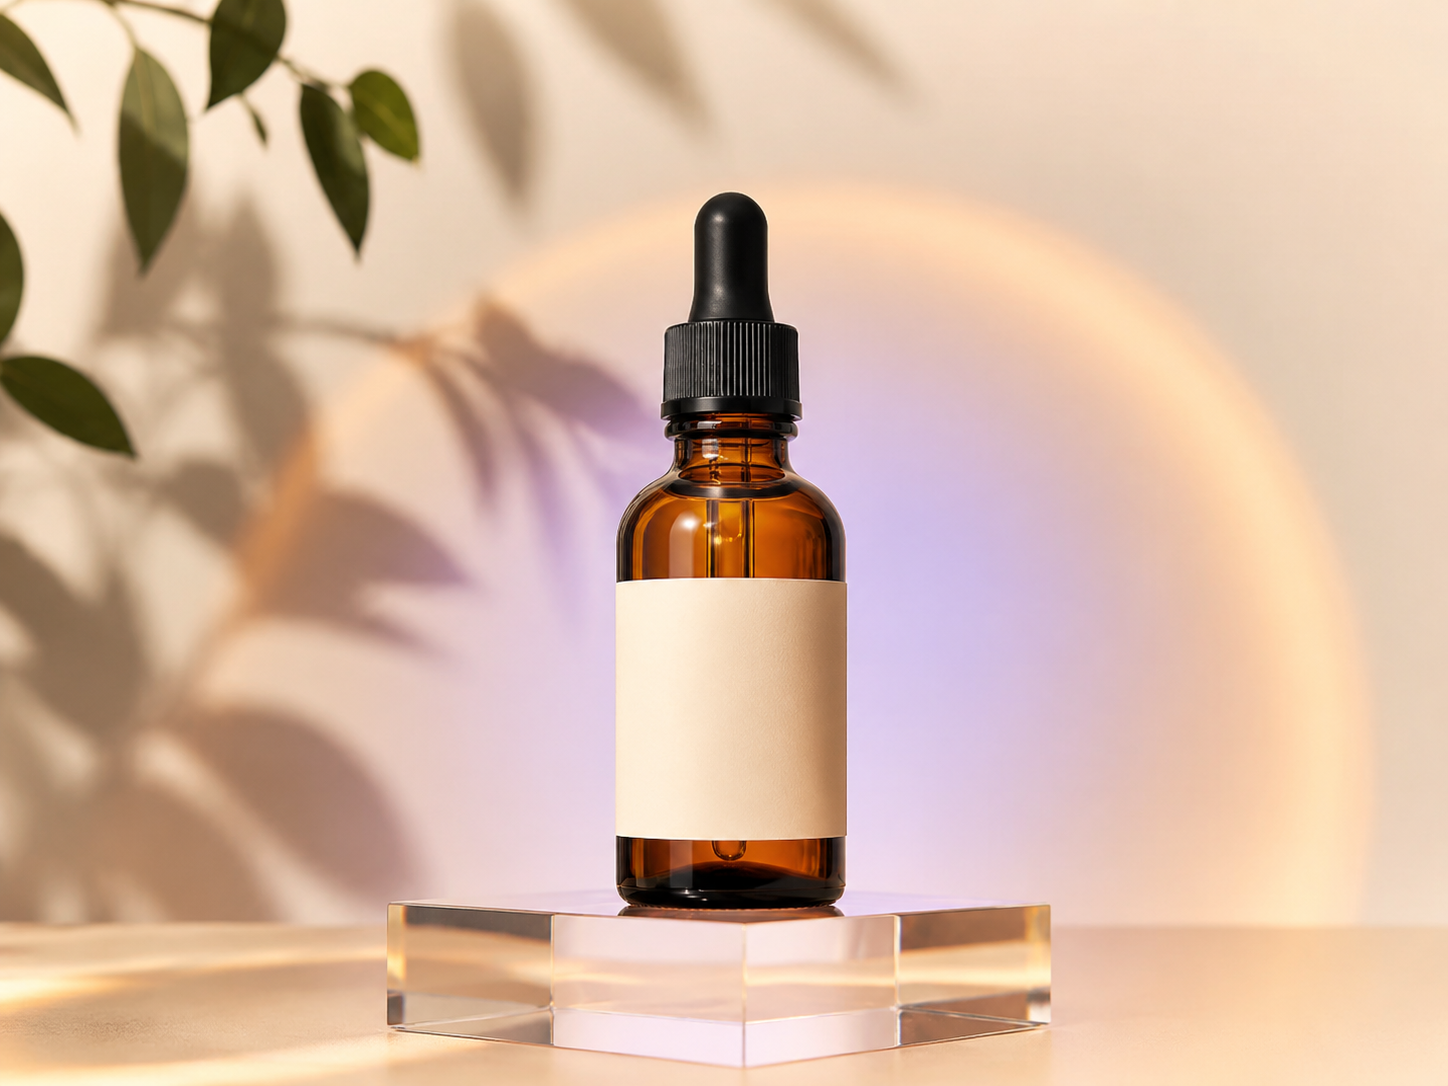
Turn a product photo or description into main images, lifestyle scenes, and ads for your online store.

Upload a reference image and turn it into detailed JSON and natural-language prompts.

Upscale images to 2K, 4K, or 8K while preserving important details.

Generate 3×3 multi-angle grid images from a single photo using AI

Split an image into smaller pieces and upscale each tile to HD quality

Crop images and remove backgrounds. Upload an image and get clean cutouts or precise crops in seconds.

Extract frames from videos instantly. No server upload required - all processing happens in your browser. Customize frame rate and create grid layouts.

Upload grid images and convert them to videos. Split grid images into frames and combine them into smooth videos. Support multiple images for seamless video creation.
Generate videos from text or keyframes using multiple AI video models in a single workflow.
Turn a short video into a depth-map video for motion transfer and reference-driven AI video workflows.
Upscale short videos to 1080p or 4K and choose 30 or 60 fps.
Create natural AI voiceovers with text to speech, voice clone, and voice design using Qwen3 TTS.
Generate perfect prompts with AI assistance